Filter Replacement.
Need help with replacing your smart filter? Our replacement instructions below are tailored to different HVAC system types, whether you have a cold air return on the wall, ceiling, or floor, or if it's located inside your furnace or HVAC unit. If you require further assistance or have questions, don't hesitate to contact us at support@wooshair.com.

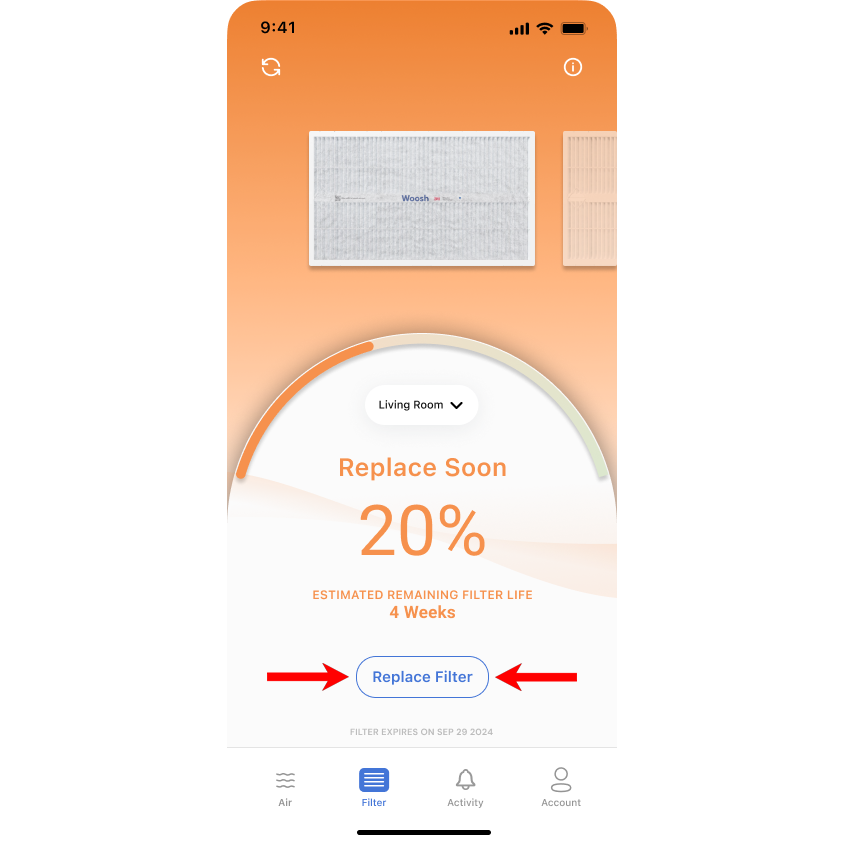
Don't forget to mark the filter as 'replaced' after you've changed it. This is critical for the filter tracking algorithm to work properly.
Don't forget to mark the filter as 'replaced' after you've changed it. This is critical for the filter tracking algorithm to work properly.

Cold air return on wall, ceiling or floor
- Make sure your HVAC system is turned off by setting your thermostat mode to OFF (not heat or cool).
- If the Gateway is mounted to your air return grille, remove and place in a safe location.
- Remove the grille. This may require opening levers or removing screws.
- Remove the smart filter.
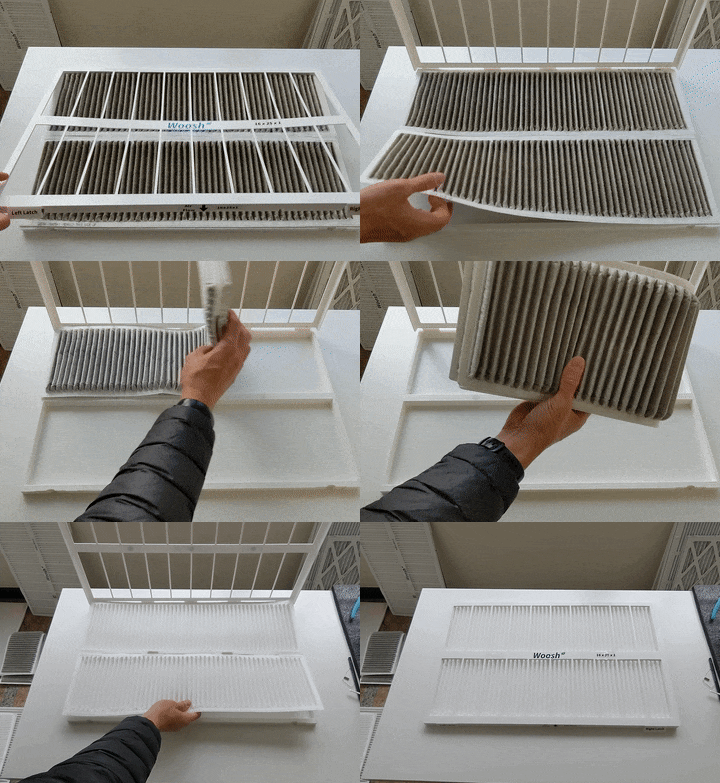
- Open the frame by unlocking the three snaps on the front edge as indicated by the three arrows.
- Remove the old filter. Fold it in half, roll it up and toss it in the trash.
- Place the new filter in the frame, taking note of which side is printed with “THIS SIDE UP”.
- Close the frame, fastening the three snaps on the front edge as indicated by the three arrows.
- Install the frame containing the new filter with the “Air Flow” arrow pointing in.
- Close the grille and secure with levers or screws as required.
- Reattach the Gateway to the grille by the magnets on the front face.
Inside furnace or HVAC unit
- Make sure your HVAC system is turned off by setting your thermostat mode to OFF (not heat or cool).
- Locate your filter, typically within the blower compartment of your furnace or HVAC unit. You may need to remove a door or panel for access.
Vertical unit with air flowing up: usually located behind the door at the bottom. This configuration often requires removing both top and bottom doors.
Vertical unit with air flowing down: usually located behind the door at the top. This configuration typically requires two filters.
Horizontal unit: usually located in a sliding rack on the side. - If the Gateway is mounted to the door or panel, remove and place in a safe location.
- Remove the filter frame.
- Open the frame by unlocking the three snaps on the front edge as indicated by the three arrows.
- Remove the old filter. Fold it in half, roll it up and toss it in the trash.
- Place the new filter in the frame, taking note of which side is printed with “THIS SIDE UP”.
- Close the frame, fastening the three snaps on the front edge as indicated by the three arrows.
- Install the frame containing the new filter with the “Air Flow” arrow pointing in the direction of air flow.
Vertical unit with air flowing up: arrow points up.
Vertical unit with air flowing down: arrow points down.
Horizontal unit: arrow points in direction of air flow. - Replace any doors that were removed.
- Reattach the Gateway to the door by the magnets on the front face.
- Make sure your HVAC system is turned off by setting your thermostat mode to OFF (not heat or cool).
- If the Gateway is mounted to your air return grille, remove and place in a safe location.
- Remove the grille. This may require opening levers or removing screws.
- Remove the smart filter.
- Open the frame by unlocking the three snaps on the front edge as indicated by the three arrows.
- Remove the old filter. Fold it in half, roll it up and toss it in the trash.
- Place the new filter in the frame, taking note of which side is printed with “THIS SIDE UP”.
- Close the frame, fastening the three snaps on the front edge as indicated by the three arrows.
- Install the frame containing the new filter with the “Air Flow” arrow pointing in.
- Close the grille and secure with levers or screws as required.
- Reattach the Gateway to the grille by the magnets on the front face.
- Make sure your HVAC system is turned off by setting your thermostat mode to OFF (not heat or cool).
- Locate your filter, typically within the blower compartment of your furnace or HVAC unit. You may need to remove a door or panel for access.
Vertical unit with air flowing up: usually located behind the door at the bottom. This configuration often requires removing both top and bottom doors.
Vertical unit with air flowing down: usually located behind the door at the top. This configuration typically requires two filters.
Horizontal unit: usually located in a sliding rack on the side. - If the Gateway is mounted to the door or panel, remove and place in a safe location.
- Remove the filter frame.
- Open the frame by unlocking the three snaps on the front edge as indicated by the three arrows.
- Remove the old filter. Fold it in half, roll it up and toss it in the trash.
- Place the new filter in the frame, taking note of which side is printed with “THIS SIDE UP”.
- Close the frame, fastening the three snaps on the front edge as indicated by the three arrows.
- Install the frame containing the new filter with the “Air Flow” arrow pointing in the direction of air flow.
Vertical unit with air flowing up: arrow points up.
Vertical unit with air flowing down: arrow points down.
Horizontal unit: arrow points in direction of air flow. - Replace any doors that were removed.
- Reattach the Gateway to the door by the magnets on the front face.

